
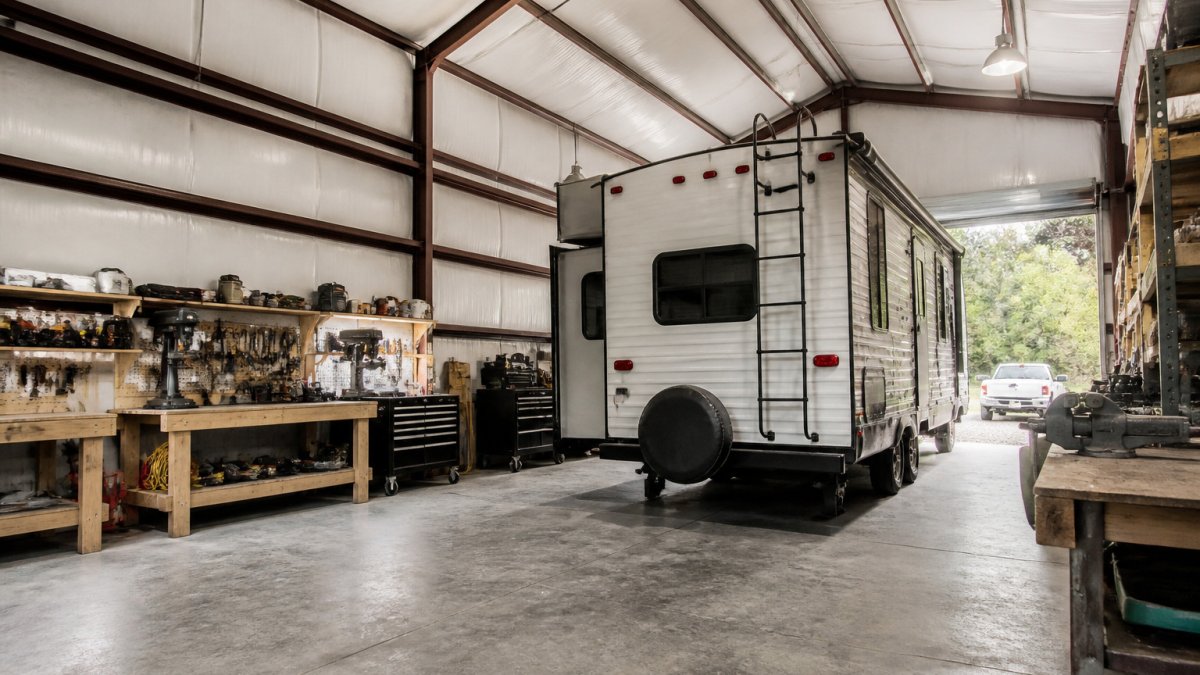

How to Plan a Custom RV Garage With Workshop Space
Last Updated: October 29, 2026
Quick Summary
Good rv garage plans start with your RV’s exact measurements, including roof equipment, then add clearance for door height and width and mark out separate workbench, storage and equipment zones. Sizing the door and the workshop together prevents costly changes later.
- Measure your RV with roof racks, antennas and the air conditioner included, not just the body.
- Add height for the door mechanism and header, plus a safety margin above the RV’s highest point.
- Measure door width mirror to mirror with mirrors extended, then add allowance for approach angle.
- Tape the RV’s width and approach path on the ground to test the door size before finalizing it.
- Confirm zoning, setbacks, permits and foundation needs early, before materials are ordered.
Table of Contents
- Start With Your RV’s Exact Dimensions and Clearance
- Choosing RV Garage Door Dimensions
- Laying Out a Detached Garage Workshop
- Deciding Between Steel Building Garage Kits and Custom Builds
- Budgeting Your RV Garage Building Cost
- Checking Site, Foundation and Permit Requirements
- Requesting a Quote for Your Custom RV Garage
- Frequently Asked Questions
Planning a custom RV garage with workshop space takes more than picking one of the many RV garage plans available, because your RV’s exact size, your door clearances and your workshop zones all need to fit together before you order a single panel. Terrapin Steel Buildings builds 100% American-made steel structures that are engineer certified to meet local or state codes, so getting the measurements right first pays off at every later step. You can see what to expect from their quality and service before reaching out.
Start With Your RV’s Exact Dimensions and Clearance
Your RV is the starting point for the entire build. Every other decision, from door size to building width, depends on how much room the vehicle needs.
Measuring Height, Length and Width
Measure your RV with the same gear you will haul or park with, such as roof racks, antennas and tow hitches. Many owners measure only the body and then find the garage is too short once the roof air conditioner is included.
Use this simple checklist:
- Height: Measure from the ground to the highest point, including roof equipment.
- Length: Measure bumper to bumper, plus any tongue or hitch that extends.
- Width: Measure side mirror to side mirror, not just the body.
Add a buffer.
Calculating Ceiling Height and Door Clearance
Ceiling height is where many RV garage plans go wrong. Take your measured RV height and add room for the door mechanism, any header beam and a safety margin.
Keep in mind that a taller RV may also need taller interior clearance for maintenance, such as lifting the roof or working on the air conditioner. Plan for that now instead of retrofitting later.
Choosing RV Garage Door Dimensions
Door size is the single most important sizing decision for an RV garage, and it is where generic plan dimensions most often fail. A door that is too narrow or too short will limit your RV for the life of the building, and widening a door after the fact means cutting structure, reworking the header and re-cladding the wall.
Calculating Door Height From Your RV
Work from your measured RV height, then add three allowances:
- Roof equipment clearance: Add the height of the tallest roof item (air conditioner, vent cover, antenna) if you measured the body only.
- Door mechanism and header: A sectional overhead door needs headroom above the opening for tracks and springs; a vertical-lift or high-lift track costs more but recovers ceiling space. The header beam above the opening also consumes height.
- Drive-in safety margin: A safe approach is to leave extra clearance above the RV’s highest point so you can enter at a slight angle without scraping.
A common pattern is to size the door opening so the RV’s tallest point clears the header by a foot or more, then confirm the interior ceiling height still leaves room for the door in its open position.
Calculating Door Width From Mirrors and Slide-Outs
Width is not the body width. Measure mirror to mirror with the mirrors extended, then add:
- Approach angle allowance: You rarely drive straight in. Add several feet of width so you can correct steering without clipping a jamb.
- Slide-out allowance: If slide-outs will be extended inside the building, the door width must clear the retracted body, but the interior bay width must clear the extended slides.
- Second vehicle or trailer: If a trailer, tow dolly or second vehicle shares the door, size for the widest combination you will ever move through it.
Allow extra width beyond the mirror-to-mirror measurement, and more if the approach is not straight.
Matching Door Type to Clearance
- Sectional overhead doors are the most common and least expensive, but they need ceiling track space and a header.
- High-lift and vertical-lift doors keep the open door tight to the ceiling, which matters when your RV is tall and your ceiling is already committed.
- Roll-up doors save overhead space but offer less insulation and weather sealing.
Before you finalize door dimensions, park your RV where the door will be and mark the ground with painter’s tape at the mirror width and the approach path. Walk the tape line and note where you would need to correct steering. That sketch is the most reliable door-width check you can make.
Many owners find that larger door openings also make the workshop easier to use, because bulky projects and equipment can move in and out without a struggle. The trade-off is cost and wall space: every extra foot of door width reduces the wall area available for workbenches, shelving and electrical runs, so plan the door and the workshop zones together rather than in sequence.
Laying Out a Detached Garage Workshop
A detached layout keeps the RV, the workshop and any noisy equipment separate from the house. That separation gives you more freedom in how you arrange the space.
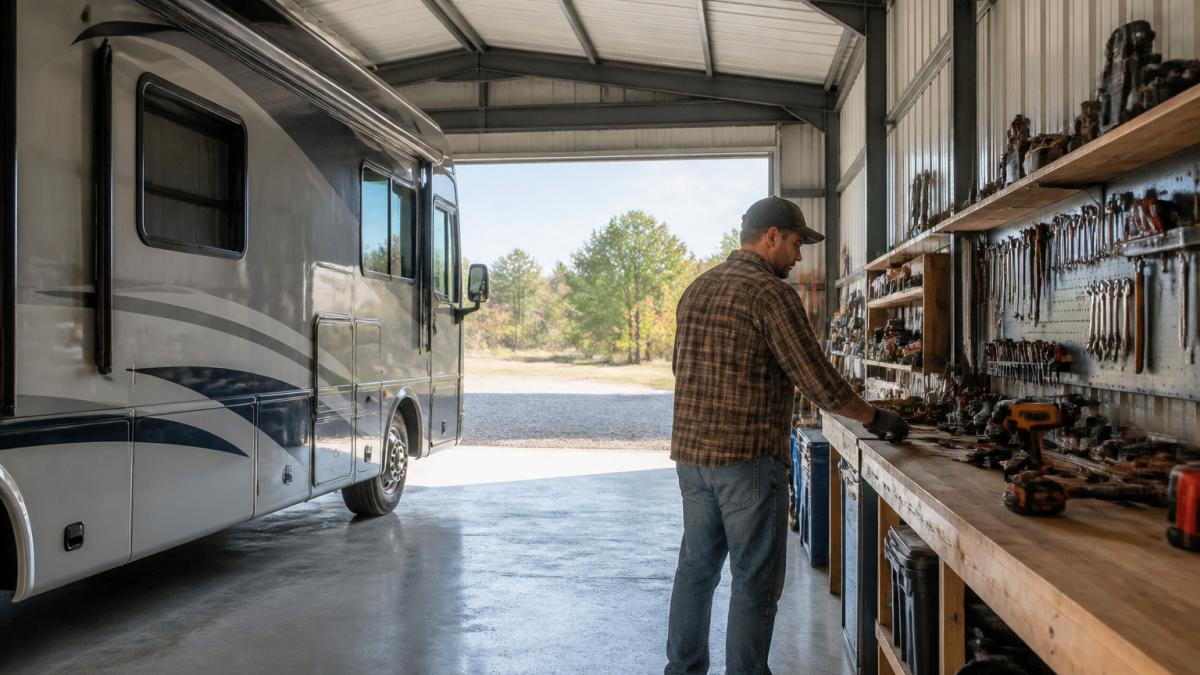
Workbench, Storage and Equipment Zones
Divide the workshop into clear zones before you pick a floor plan. See how a custom steel workshop build is designed and installed to fit these zones. A useful shop often includes: layout ideas for organizing workbench, storage and equipment space.
- Work zone: A sturdy workbench near good light and power.
- Storage zone: Wall shelving or cabinets for tools, parts and supplies.
- Equipment zone: Floor space for larger tools, compressors or a lift.
Sketch these zones on paper. Walk through a typical project in your head: getting the RV out, setting up the workbench, and putting everything away. If the path is awkward on paper, it will be frustrating in real life.
Power, Lighting and Ventilation Needs
Think about utilities before the walls go up. Running a new circuit or a water line later is far more expensive than planning for it now.
- Power: Count your tools and plan outlets along the workbench and near large equipment. Consider a dedicated circuit for heavy tools.
- Lighting: Use bright, even lighting over the bench and across the RV bay.
- Ventilation: Fumes from paint, solvents and welding need airflow. Plan vents or openings that keep the air moving.
Deciding Between Steel Building Garage Kits and Custom Builds
Steel building garage kits are pre-engineered packages. You can compare available residential steel garage kit options side by side. Custom builds are designed around your exact plan. Both can work well, so the right choice depends on how closely your needs match a standard layout.
A kit may suit you if:
- Your RV and workshop needs fit common sizes.
- You want a simpler, more predictable process.
- You are watching your budget closely.
A custom build may suit you if:
- You need unusual dimensions or door placements.
- You want a specific workshop layout with defined zones.
- You plan to add features like a loft, extra bays or utility rooms later.
Terrapin Steel Buildings offers highly customizable designs, so you can talk through your RV dimensions and workshop plans before choosing a path.
Budgeting Your RV Garage Building Cost
A realistic budget covers more than the steel building itself. Pricing depends on size, door count, finish options, site work and local labor, so Terrapin Steel Buildings does not publish a set price for every configuration. Pricing depends on quantity, dates, and delivery, so request a quote for your exact dimensions to see current pricing.
The Cost Stack, in Order of Typical Magnitude
Most projects break down into these buckets. The percentages are a common planning pattern, not a quote:
- Building package (steel framing, panels, doors, hardware): often the largest single line, and the one most sensitive to span width and eave height.
- Foundation and slab: a concrete slab with footings for an RV-rated load is a major cost; a gravel base is cheaper but limits floor uses.
- Site preparation: grading, drainage, driveway approach and delivery access. A sloped or soft site can rival the foundation cost.
How Size and Doors Move the Number
Two garages with the same square footage can price very differently. The biggest cost drivers are:
- Span width: a wider clear span needs heavier framing, which raises the package price faster than length does.
- Eave height: taller walls mean more panel, more framing and more door hardware.
- Door count and size: each opening is a discrete cost; a second RV door or an oversized workshop door adds both material and labor.
A common pattern is to fix the RV bay dimensions first, then decide whether the workshop is under the same roof or a separate bay, because that choice changes span, door count and electrical scope together.
A Transparent Budget Template
Build your budget in four columns: line item, low estimate, high estimate and contingency. Set aside a contingency of about 10 percent for surprises, and more if the site is unimproved or the jurisdiction is unfamiliar. Ask for an itemized quote so you can compare the base building against optional upgrades line by line rather than as a single lump sum.
Do not compare a building package price to a finished-garage price. Package prices typically exclude foundation, site work, electrical, permits and installation labor. Normalize every quote to the same scope before you compare.
Budget the site and foundation before you fall in love with a plan. Those costs are fixed by your land, not by the building, and they are the most common reason a project comes in over budget.
The article breaks the project cost into a few major buckets, in rough order of typical size.
| Cost item | Typical share | What drives it |
|---|---|---|
| Building package | Often the largest line | Span width and eave height |
| Foundation and slab | A major cost | RV-rated load on the slab |
| Site preparation | Can rival foundation | Slope, soil and driveway access |
| Doors and openings | Adds per opening | Door size, track and header |
| Electrical and lighting | Varies by plan | Outlets and heavy-tool circuits |
| Permits and engineering | Usually modest | Local jurisdiction and schedule |
| Contingency | About 10 percent | Unimproved site or unfamiliar jurisdiction |
Checking Site, Foundation and Permit Requirements
Before you commit, confirm that your site and paperwork can support the building.
- Zoning and setbacks: Check how close the building can sit to property lines.
- Foundation: Most RV garages need a level, well-drained base. Ask your builder what foundation the design requires.
- Permits: Many counties require a building permit and inspections. Contact your local building department early.
Starting these checks early prevents delays once materials are ordered.
Requesting a Quote for Your Custom RV Garage
Once you have your RV measurements, door sizes, workshop zones and site details, you are ready to ask for a quote. Bring your sketch and notes so the conversation stays focused. Terrapin Steel Buildings works with homeowners, farmers and small business owners, and its factory-trained, licensed and insured installation crews handle the build.
Request a quote today to start turning your RV garage with workshop space from a plan on paper into a finished building.
Frequently Asked Questions
What is the standard ceiling height for an RV garage?
Plan for more height than you think you need. Measure your RV’s overall height including roof-mounted air conditioners, antennas and satellite dishes, then add clearance above that for the door opener track and a safety margin. Many owners find that a ceiling height of 14 to 16 feet accommodates most motorhomes, while taller rigs or future upgrades may require more. Check the exact height from your RV’s specifications, and confirm the door opening will clear the vehicle’s highest point with room to spare.
How much does it cost to build a custom RV garage with a workshop?
Costs vary widely with size, materials, site work and finish level, so no single figure applies to every project. Workshop elements such as added electrical service, insulation and interior finishing raise the total. For an accurate number, request a written quote from the builder based on your specific plan and location.
Do I need a permit for a detached RV garage and workshop?
In most US jurisdictions, a detached structure of this size requires a building permit, and the local building department sets the specific rules. Requirements often cover setbacks from property lines, maximum height, foundation design, electrical work and wind or snow loads. Contact your county or city building office before you finalize the plan, since a permitted design avoids costly changes or removal orders later. Engineer-certified plans can simplify the review.
How do I choose the right door size for my RV garage?
Start with the widest and tallest part of your RV, which is often the mirrors or the roof equipment, not the body. Add clearance on each side and above the vehicle so you can enter and exit without scraping. Many owners choose a door wide enough for the vehicle plus several feet of margin, and tall enough for the rig with air conditioners attached. Consider a larger door if you plan to add a second vehicle or move equipment in and out.
