
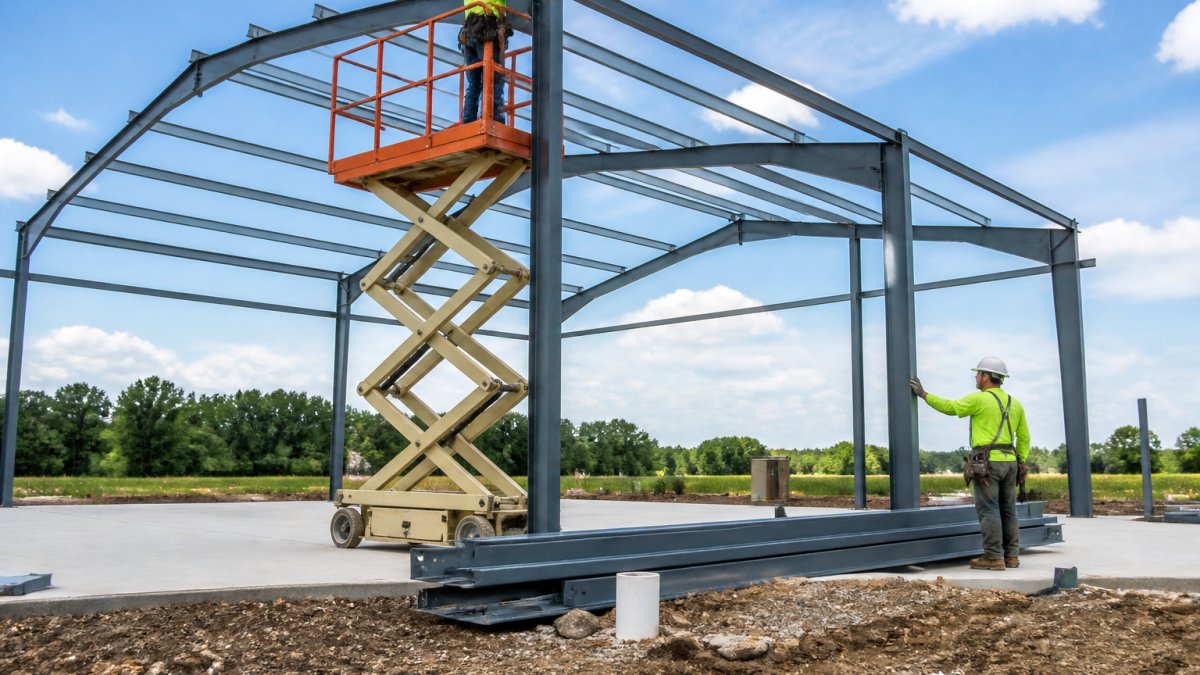

Steel Building Installation: A Code-Compliant Guide
Table of Contents
- What to Look for in a Steel Building Installer
- Steel Building Permits: Understanding Your Local Requirements
- The Steel Building Installation Process: Step-by-Step
- Steel Building Contractor Checklist: What to Verify Before Work Begins
- How to Confirm Code Compliance and Pass Inspection
- Understanding Your Warranty and Long-Term Protection
- Frequently Asked Questions
Last Updated: October 11, 2026
What to Look for in a Steel Building Installer
Choosing the right contractor for your steel building installation ensures your structure meets code, performs as designed, and protects your investment for decades. The wrong choice leads to costly rework, failed inspections, and structural failure.
Start by verifying three core credentials: licensing, insurance, and factory training. These aren’t optional checkboxes, they’re proof that the contractor knows how to assemble your steel building correctly and can stand behind the work.
Verify Licensing, Insurance, and Factory Training
Your installer should hold a valid general contractor license in your state. Request a copy and verify it directly with your state’s licensing board.
Require proof of general liability coverage (minimum $1 million) and workers’ compensation insurance. Ask for a certificate of insurance naming you as an additional insured.
Factory training is critical. The manufacturer trains installers on the specific assembly sequence, fastening requirements, and weather-sealing details unique to their product line. Ask which manufacturer trained the crew and request documentation.
Check References and Past Project Documentation
Ask for at least three references from projects completed in the last two years. Contact customers directly and ask: Did the crew show up on schedule? Was the work clean and organized? Did the building pass inspection on the first attempt?
Request photos of past installations. Pay attention to site cleanliness and whether crews appear organized.
Ask references specifically whether the installer helped coordinate with the building inspector and whether any code violations came up during inspection. This reveals whether the contractor understands local compliance requirements.
Steel Building Permits: Understanding Your Local Requirements
Permit requirements vary by jurisdiction. Your installer should know your local code environment, but you’re responsible for understanding what your jurisdiction demands.
How to Identify Your Jurisdiction’s Code Standards
Contact your county or municipal building department and ask: Does your jurisdiction enforce the International Building Code (IBC)? Do steel buildings require engineer certification? What wind and snow load standards apply to your area?
The International Code Council maintains searchable building code adoption records for every jurisdiction in the country. This tells you which code version your area enforces. Write down the specific code year, it matters because wind and snow load requirements change between editions.
Your location’s wind and snow load ratings determine the steel gauge and fastening specifications your building must meet. Your installer and the manufacturer must confirm these loads match your site.
What Documentation You’ll Need to Submit
Most jurisdictions require a completed building permit application, site plan, and engineer certification that the building meets local codes.
Your manufacturer typically provides engineer-certified plans. If your building is customized, the engineer must certify it meets your specific local codes.
Gather property survey, proof of ownership, and any HOA or deed restrictions before work begins.
The Steel Building Installation Process: Step-by-Step
Steel building installations follow a predictable sequence. Understanding each phase helps you catch problems early and ensures inspection readiness.
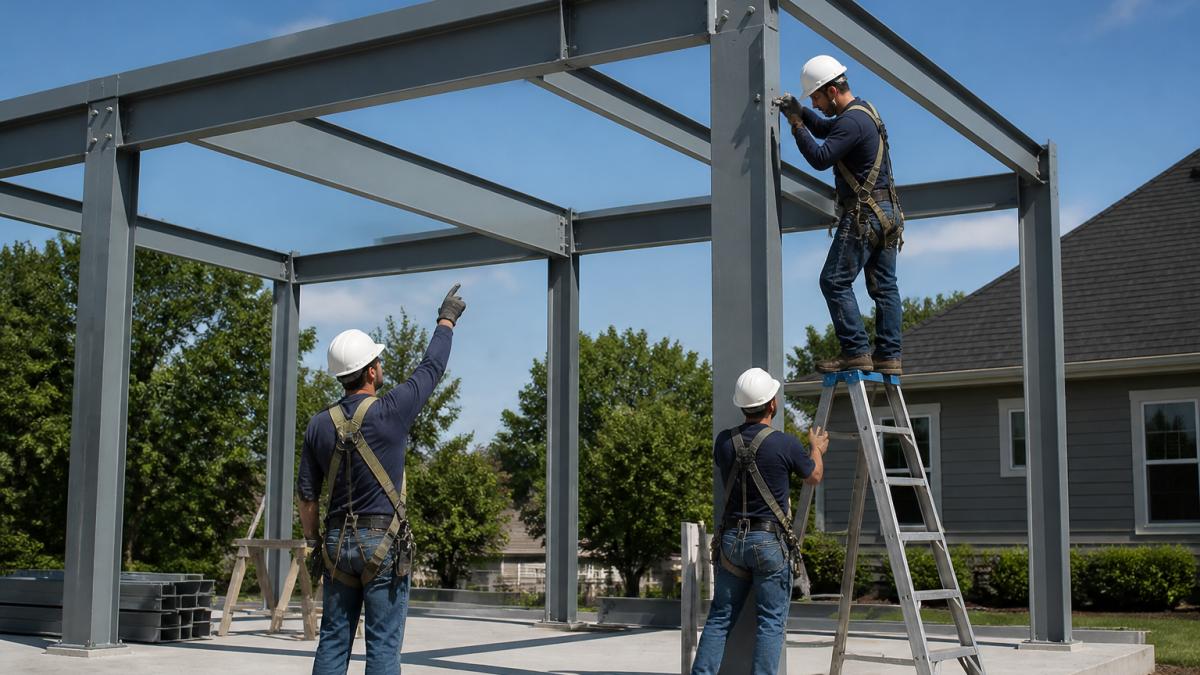
Phase 1: Foundation Inspection and Site Preparation (Before Steel Arrives)
The foundation is critical. Out-of-tolerance foundations cascade errors through the entire structure.
Request a certified survey confirming anchor bolt spacing and elevation. Measure bolt distances and heights. If any bolt is more than 1/2 inch out of position, the foundation contractor must correct it before steel installation begins.
The installation crew will perform their own foundation inspection. If the foundation does not meet tolerance, they will refuse to proceed. Do not pressure the crew to “make it work.”
Site preparation includes clearing debris, positioning equipment, staging materials, setting up tool storage and safety perimeter, and confirming utility locations. A professional crew organizes the site for accessibility and safety.
Phase 2: Frame Assembly and Bolted Connections (Days 1-3 typically)
The crew bolts columns to anchor bolts and connects beams per the engineer’s specifications.
Every bolt must be torqued to the engineer’s specification. The engineer specifies bolt grade (typically A325 or A490), diameter, and torque value. Improper torque creates loose connections that can separate under wind or snow load.
The crew should use a calibrated torque wrench, not an impact wrench. Ask when the wrench was last calibrated.
Watch for: bolts torqued with calibrated wrench, bolt holes aligned, bolts fully seated, and connections photographed. If you see impact wrenches or loose bolts, stop work and ask the crew to verify torque values.
The crew should photograph each major connection (column-to-anchor, beam-to-column, etc.) before moving to the next phase. These photos are documentation that the work was done correctly. Request copies of all photos.
Phase 3: Purlins, Girts, and Panel Installation (Days 3-5 typically)
The crew installs purlins and girts, then roof and wall panels. Panels are fastened with self-drilling fasteners at spacing specified by the engineer. Improper spacing creates stress points that fail.
Watch for: fasteners at correct spacing, driven perpendicular to panel, fully seated, and correct type/length. Request the fastening schedule and review it with the crew before work begins.
As panels are installed, the crew should photograph the fastening pattern at several locations. These photos prove that fasteners were installed at the correct spacing.
Phase 4: Flashing, Trim, and Weather Sealing (Days 5-7 typically)
Flashing is installed at roof penetrations, edges, and wall-to-foundation transitions to prevent water entry. The engineer’s plans specify flashing details. Flashing must be sealed or fastened to prevent wind uplift.
Watch for: flashing installed per plans, seams sealed, fasteners at correct spacing (typically 6 inches on center), and correct sealant type. Trim must be fastened securely to prevent vibration.
As flashing and trim are installed, photograph the work. These photos document that details were followed.
Phase 5: Final Walkthrough and Inspection Readiness (Day 7-8)
Before the final inspection, the crew performs an internal walkthrough to verify all fasteners are installed, bolts are torqued, flashing is sealed, the structure matches plans, and the site is clean.
The crew should compile a documentation package: engineer-certified plans, building permit, photographs of connections, torque wrench calibration records, material summary, and foundation inspection reports. This documentation demonstrates correct work and facilitates approval.
Phase 6: Building Department Final Inspection
The building inspector verifies the structure matches plans, fasteners are properly installed, connections meet code, flashing and trim are correct, and the site is safe. If work is correct and well-documented, inspection should pass.
If the inspector identifies deficiencies, they will issue a punch list. The contractor must address these before final approval. Common deficiencies include:
- Missing or loose fasteners
- Fasteners installed at incorrect spacing
- Flashing not sealed properly
- Bolts not torqued to specification
A professional contractor will fix these promptly. If the contractor resists or argues, this signals that they do not understand code requirements.
A thorough final walkthrough by the contractor before the official inspection, combined with complete documentation (photos, torque records, material certifications), catches 95% of issues that would otherwise delay approval. This saves weeks of back-and-forth with the building department.
Steel Building Contractor Checklist: What to Verify Before Work Begins
Use this checklist to confirm your contractor is prepared and qualified before the first day of work.
| Requirement | Status | Notes |
|---|---|---|
| General contractor license verified with state | ☐ | License number and expiration date |
| General liability insurance ($1M minimum) | ☐ | Certificate of insurance provided |
| Workers’ compensation insurance | ☐ | Current and valid for all crew members |
| Factory training documentation | ☐ | Training completion from manufacturer |
| References from last 2 years | ☐ | At least 3 completed projects |
| Site plan and foundation specifications reviewed | ☐ | Matches approved permit plans |
| Permit application submitted | ☐ | Confirmation of permit number |
| Weather forecast reviewed | ☐ | No major rain/wind during installation |
| Material delivery schedule confirmed | ☐ | Staging area prepared |
| Safety plan and site protocols reviewed | ☐ | Crew briefed on hazards |
Before signing a contract, walk through this checklist with your contractor. A professional will have every item ready. If they’re vague or defensive about any requirement, reconsider.
How to Confirm Code Compliance and Pass Inspection
Code compliance isn’t something that happens at the end, it’s built into every decision from day one. Your installer, the manufacturer, and the building department must all agree on what compliance looks like before work starts.
Engineer Certification and Structural Documentation
The engineer’s certification is your proof that the building meets code. This document specifies the exact materials, fastening methods, and construction sequence required. The contractor must follow it precisely. Any deviation, different fasteners, altered spacing, skipped steps, voids the certification and creates code violations.
Request a copy of the engineer-certified plans before work begins. Review them with your contractor to confirm they understand every requirement. Ask questions about anything unclear. This conversation prevents misunderstandings that could delay inspection.
The American Society of Civil Engineers publishes guidelines for structural documentation that inform how engineers certify steel structures. Your engineer’s documentation should reference these standards.
Working with Building Inspectors and Scheduling Inspections
Contact your building inspector before work begins. Introduce yourself and your contractor. Explain the project scope and ask about their inspection schedule. Some inspectors want to see the site at specific stages; others conduct one final inspection. Knowing their preferences prevents surprises.
Schedule inspections in advance. Most inspectors require 24-48 hours notice. Coordinate with your contractor to ensure all work is complete and the site is clean before the inspector arrives. A disorganized site creates a negative impression that can make inspectors more thorough, and more likely to find minor issues.
If an inspector identifies code violations, do not argue or become defensive. Ask for specific guidance on remediation. A professional contractor will fix issues promptly. Resistance signals that the contractor doesn’t understand code requirements.
Understanding Your Warranty and Long-Term Protection
Your steel building warranty covers defects in materials and workmanship. Terrapin Steel Buildings provides a 20-year manufacturer’s warranty on 12-gauge steel framing, covering rust and structural failure from manufacturing defects. This warranty protects your investment but only if you maintain the building properly.
Maintenance is minimal for steel buildings. Inspect fasteners annually and tighten any that have loosened. Keep gutters clean so water drains properly. If you notice rust forming, address it immediately with touch-up paint. These simple steps preserve your warranty coverage and keep the structure performing as designed.
Document all maintenance with photos and dates. If a warranty claim arises, this documentation proves you’ve maintained the building correctly. Manufacturers deny claims for structures that were neglected.
Code-compliant steel building installation begins with choosing a qualified contractor who understands your local requirements and follows engineer-certified specifications precisely. Verify licensing, insurance, and factory training before signing a contract. Confirm your building department’s code standards and ensure the manufacturer’s plans meet those standards. Monitor each phase of installation and coordinate closely with the building inspector.
At Terrapin Steel Buildings, we handle this complexity for you. Our factory-trained, licensed, and insured installation crews understand the code requirements in your jurisdiction and assemble your structure to meet them. We provide engineer-certified plans, coordinate inspections, and stand behind our 20-year warranty on 12-gauge steel framing. Request a quote to discuss your project and get a clear timeline and installation plan for your property.
Frequently Asked Questions
How do I know if a steel building installer is actually licensed and insured?
Ask the installer for proof of current licensing from your state or local jurisdiction, a copy of their general liability and workers’ compensation insurance certificates, and factory training documentation from the steel building manufacturer. Verify the license number directly with your state’s licensing board and call the insurance carrier to confirm active coverage. A trustworthy installer will provide these documents without hesitation and won’t pressure you to start work before you’ve reviewed them.
How can I verify that an engineer-certified steel building will actually pass my local building inspection?
Engineer certification means the building is designed to meet standard building codes, but local codes vary by jurisdiction. Before installation, confirm with your building department that the engineer’s design meets your specific local codes and any amendments. Request a copy of the engineer’s certification and structural drawings from your installer, and have the building department review them for approval before work begins. This prevents costly delays or rework after installation is complete.
What should I expect during the steel building installation and inspection process?
Installation typically includes site preparation, foundation inspection, framing assembly, roofing and closure, and final walkthrough. Your installer should provide a project timeline and coordinate with building inspectors for required inspections at key stages: foundation, framing, and final completion. You should receive detailed documentation, photos, and inspection records. Ask your installer for a step-by-step schedule upfront and confirm they’ll be present during all inspections to address any inspector concerns immediately.